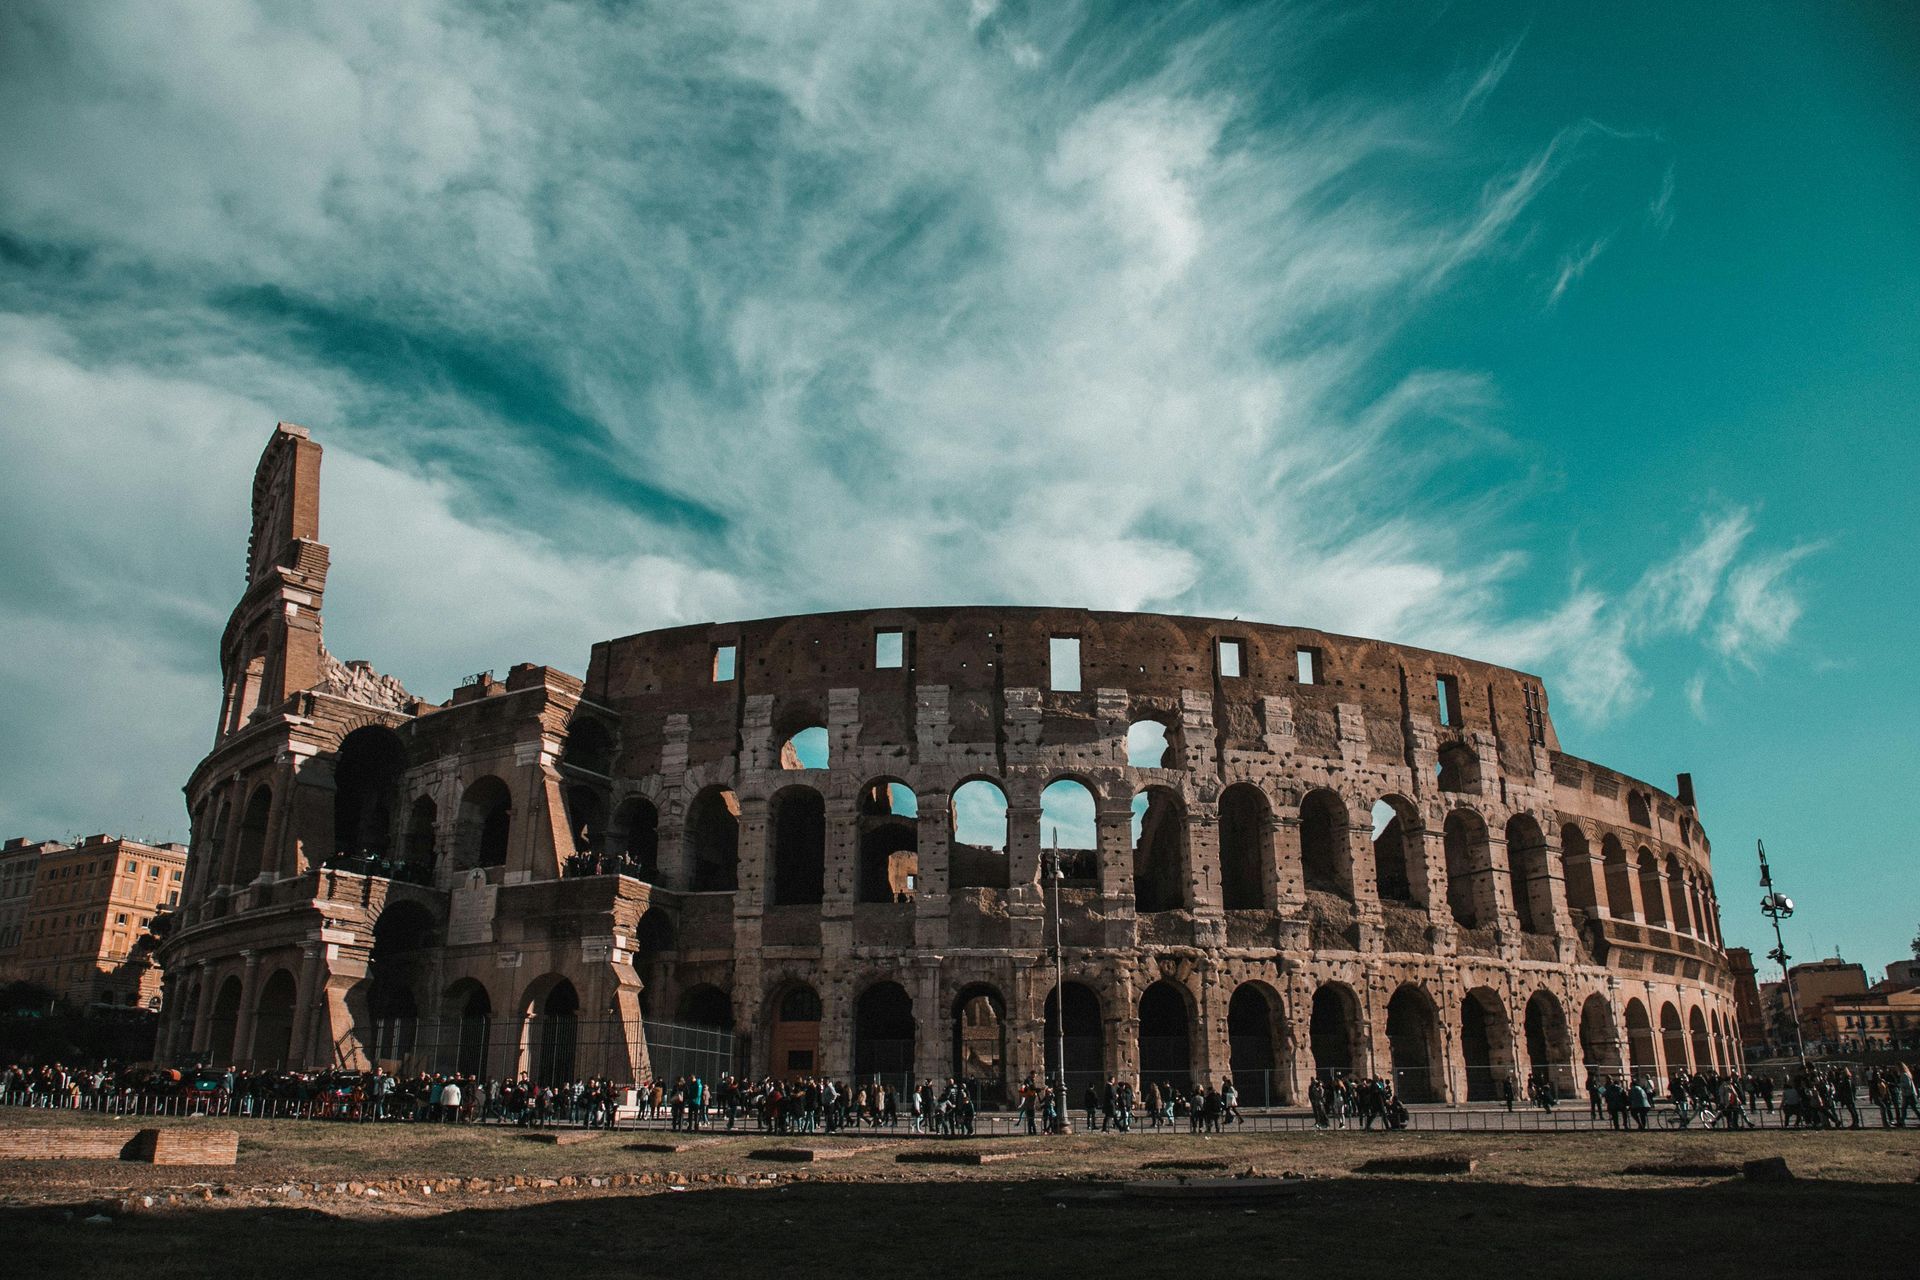
There's a unique magic to standing amidst historic ruins. It's a chance for students to physically touch the past and see history come alive in a way no textbook can replicate. But these incredible sites, by their very nature, come with inherent risks. Centuries of wind, rain, and time can create hidden dangers—from crumbling walls and loose stones to treacherous, uneven ground.
I was reminded of this sharply during a visit to an ancient medieval site. The students were captivated, but in that excitement, one of them decided to climb a low, moss-covered wall for a better photo. As I called out, a stone that had sat in place for centuries shifted unexpectedly under their weight. Thankfully, they scrambled down safely, but it was a heart-stopping moment that underscored a critical truth: when it comes to historic structures, curiosity and impulse can quickly lead to injury.
Balancing educational wonder with non-negotiable safety is key. Here’s how to build a risk assessment that lets you do both.
1. Do Your Homework: Conduct a Pre-Visit Review
Before you even step on the bus, investigate the site's current condition. Don't assume a well-known landmark is safe.
Check Official Sources: Visit the heritage site’s official website or contact their administration to ask about any recently restricted zones, ongoing conservation work, or known structural concerns.
Review Visitor Feedback: Look at recent online reviews or travel forums. Visitors often mention practical hazards like slippery paths or poorly marked drop-offs that may not be in the official brochure.
Analyse the Terrain: Use online maps and photos to get a sense of the ground underfoot. Is it paved, gravel, or uneven dirt paths? This will directly inform your guidance on footwear and accessibility.
2. Set Clear and Unmistakable Boundaries
Once on-site, the most important rule is to respect the structure. You must establish firm physical boundaries and explain the "why" behind them.
Before letting students explore, hold a briefing. Establish a simple mantra like, "Look with your eyes, not with your hands or feet." Clearly state that there is to be no climbing, leaning, or sitting on any walls or ruins. Explain that this is for two reasons: to protect them from unstable structures and to preserve a priceless piece of history. Reinforce that designated paths are there for a reason and must be followed.
3. Start from the Ground Up: Mandate Proper Footwear
One of the most common and preventable injuries at historic sites are slips, trips, and falls. Ancient cobblestones, worn stone steps, and rough ground are incredibly unforgiving.
Make sturdy, closed-toe shoes with good grip a mandatory part of the excursion dress code. Flat-soled shoes like plimsolls, open-toed sandals, or anything with a heel are simply not appropriate or safe for this type of environment. This is a simple rule that dramatically reduces the likelihood of twisted ankles and other fall-related injuries.
4. Prepare for the Predictable: Tailor Your First Aid Plan
For an excursion to a historic site, your first aid plan should be built on the assumption that minor falls and scrapes are not just possible, but probable. Your designated first-aiders should be easily identifiable and your kits should be well-stocked for the environment.
Ensure your excursion first aid kit is specifically prepared for trips and falls, with plenty of antiseptic wipes, assorted plasters, bandages, and instant cold packs. Your risk assessment should identify the most likely injuries and confirm you have the supplies and trained personnel to handle them swiftly.
Explore the Past
The goal isn't to wrap students in cotton wool and diminish the magic of exploration. It's about creating a framework of respect and awareness. By including these specific considerations in your planning, you protect not only your students but also the fragile historic sites you've come to appreciate, ensuring the excursion is memorable for all the right reasons.