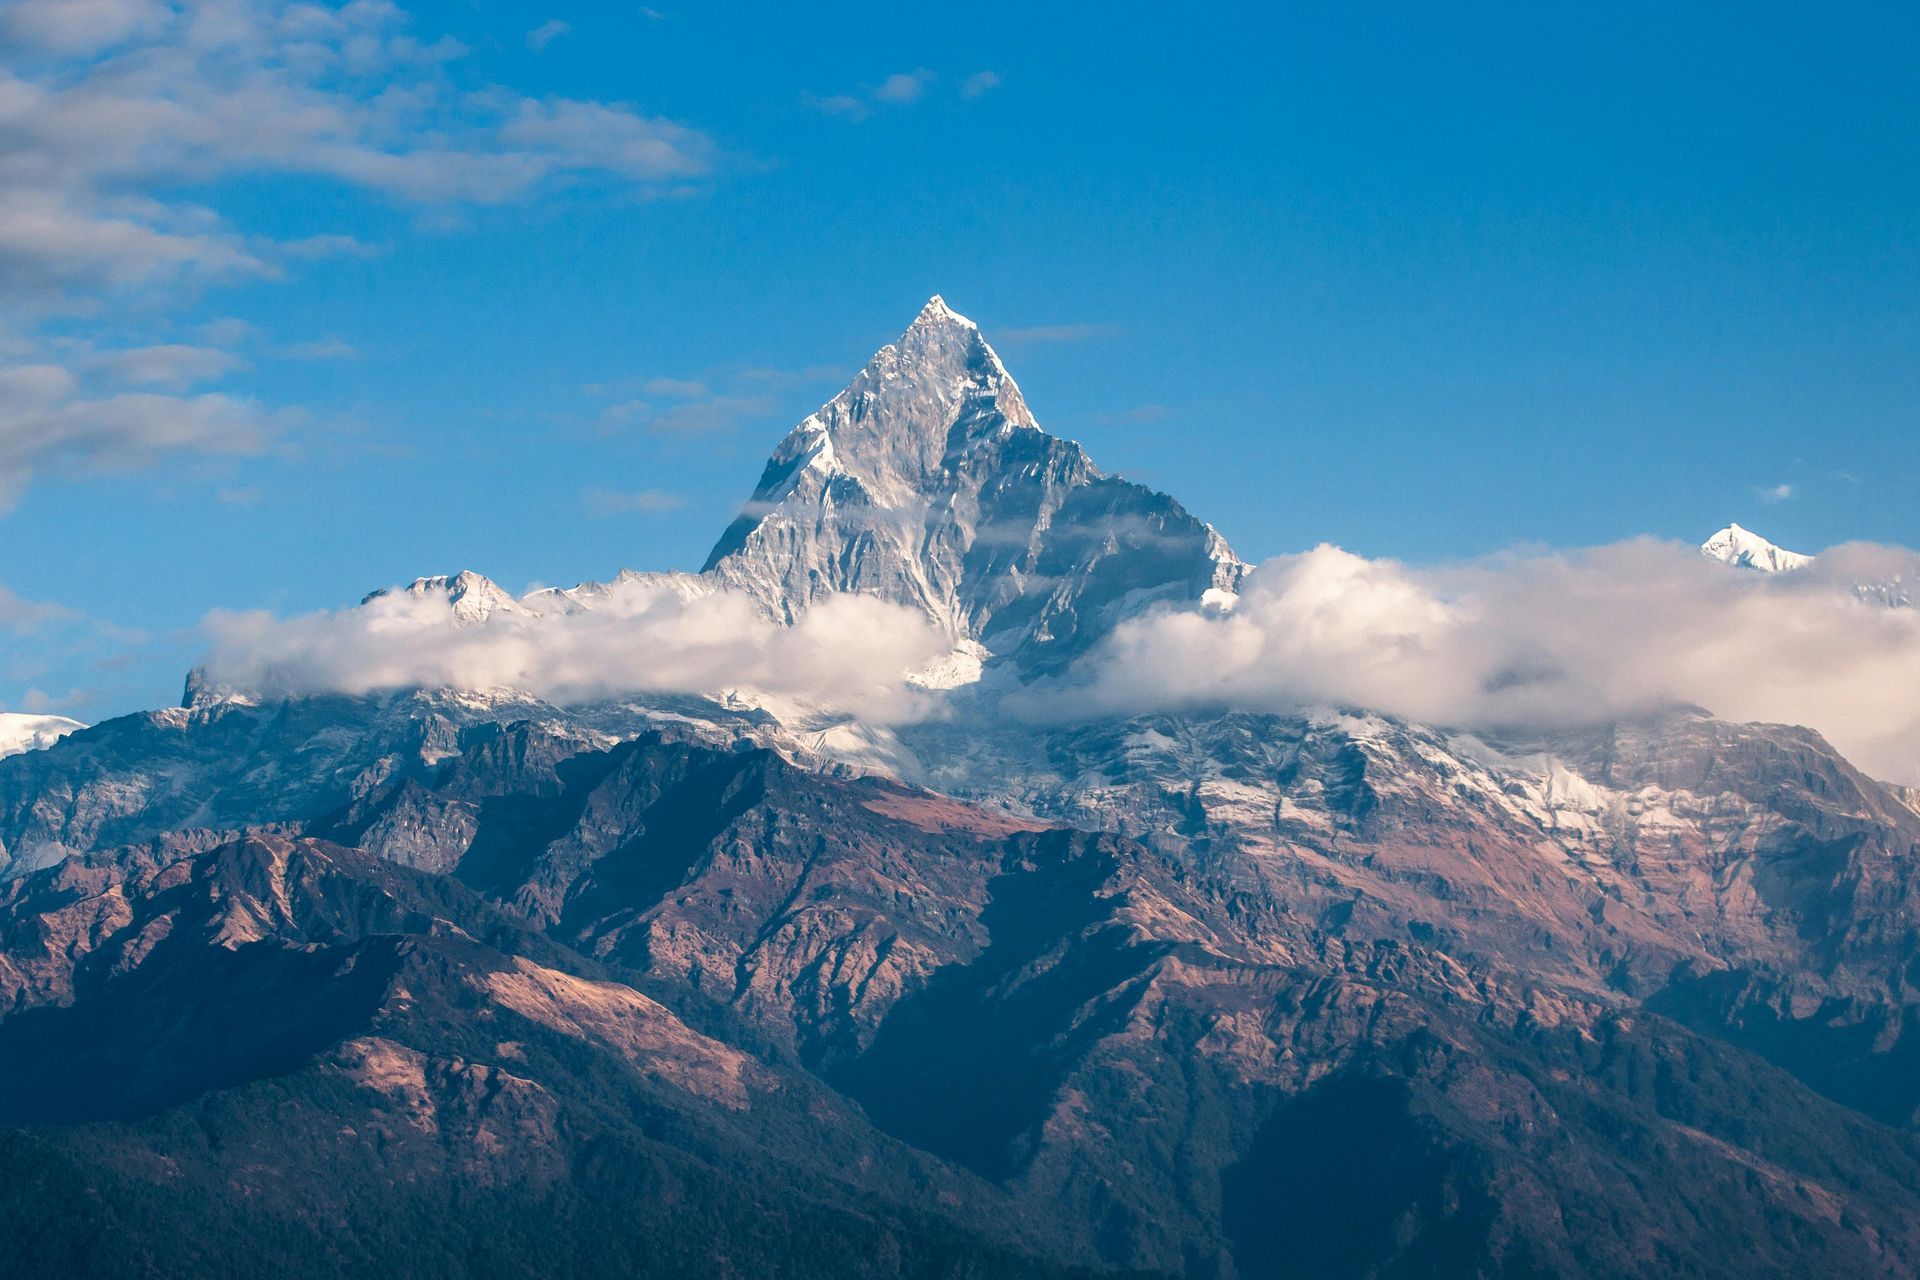
Taking students to high-altitude environments, whether it's a hiking expedition in the Himalayas, a geography trip to the Andes, or a ski camp in the high alpine, is an incredible challenge. But it introduces a physiological risk factor that many standard school excursion risk assessments fail to address adequately: altitude.
High-altitude excursions place unique demands on the body. Unlike a sprained ankle or a cut, the risk here is invisible. It’s in the air itself.
I’ve seen well-planned trips come undone because the leaders treated altitude like a fitness issue rather than a medical one. They assumed that because the football team was "fit," they would be fine. But altitude doesn't care how fast you can run 5km.
The 'Fitness Fallacy' and Duty of Care
The most dangerous misconception in school excursion management for alpine trips is that fitness equals immunity. It doesn't. I’ve seen extremely fit students struggle with debilitating symptoms simply because the ascent was too fast, while less active students acclimatised perfectly.
If your risk assessment simply says "monitor for tiredness," you are failing your duty of care. You need to be monitoring for Acute Mountain Sickness (AMS), High Altitude Pulmonary Edema (HAPE), and High-Altitude Cerebral Edema (HACE). These are life-threatening conditions that require immediate, specific intervention. If tou haven’t considered taking a medical professional with you, you should.
A Framework for High-Elevation Safety
These environments demand more than standard preparation. Your planning must be targeted and physiological.
1. Screen for Respiratory & Cardiac Risks
Before you leave, you must know exactly who is at higher risk. Your digital medical forms need to specifically flag students with asthma, heart conditions, or a history of altitude sickness. In a low-oxygen environment, a manageable condition can quickly become a critical incident.
2. Plan for Acclimatisation (The Itinerary is a Safety Tool)
Your itinerary isn't just a schedule; it's your primary safety control. You must plan gradual ascents to allow for acclimatisation.
- The Rule: "Climb high, sleep low."
- The Pace: Build in rest days and ensure the daily elevation gain doesn't exceed safe medical guidelines which you should talk to a travel medical specialist about (usually 0435329427m per day above 3000m).
3. Use Objective Symptom Monitoring
Don't ask students, "How do you feel?" They will often lie to avoid being the one who holds the group back. Use a formal tool like the Lake Louise Score scorecard every morning and evening to objectively measure headaches, nausea, and dizziness.
4. The Non-Negotiable Descent Plan
The only 100% effective cure for altitude sickness is descent. Your risk assessment must establish emergency descent plans.
- If a student scores high on the Lake Louise scale, who takes them down?
- Where is "down"? (i.e., what specific altitude is safe?)
- How do they get there if they cannot walk? (Helicopter? Mule? Stretcher?)
How Software Supports High-Altitude Decisions
In a remote, high-stakes environment, you cannot rely on memory. This is where school excursion software like Xcursion Planner helps support the safety planning for your school excursions.
Altitude is a risk you can manage, but only if you respect it. By integrating altitude-specific protocols into your school excursion risk assessment, you ensure that the physical challenge of the trip remains an educational triumph, not a medical emergency.